シーン移動の処理を実装する
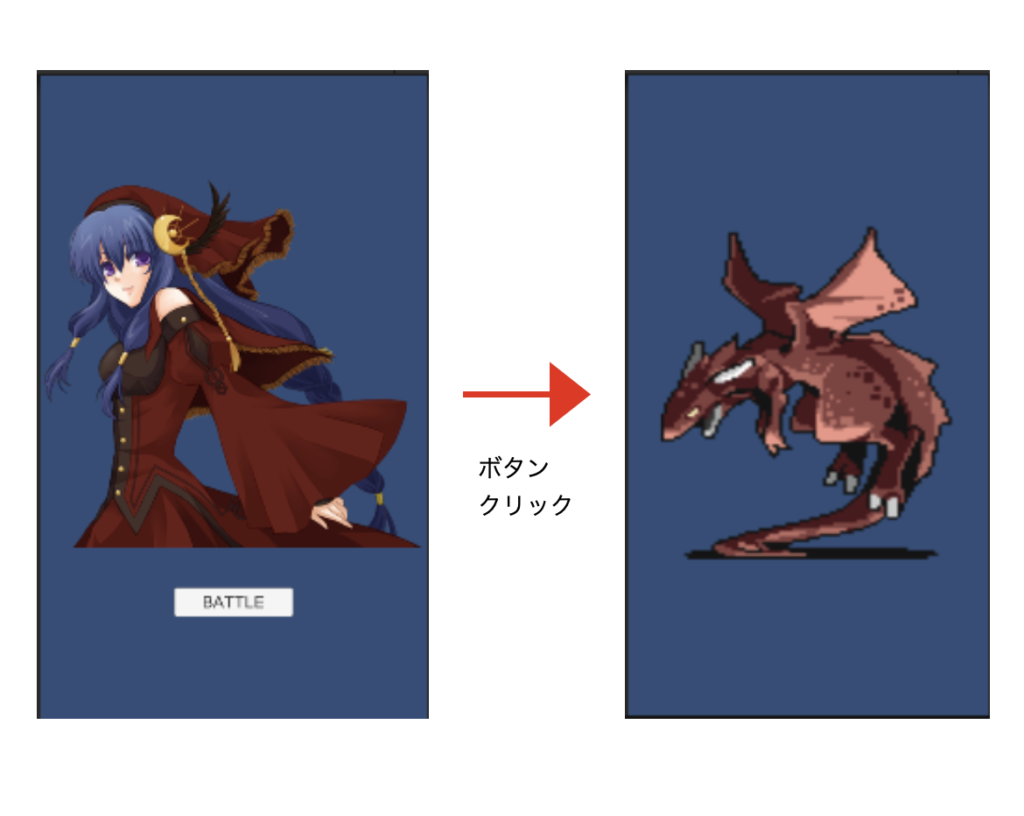
ボタンをクリックした時に別のシーンに移動する処理を作ります。
(メイン画面からバトル画面に遷移するようなイメージです)

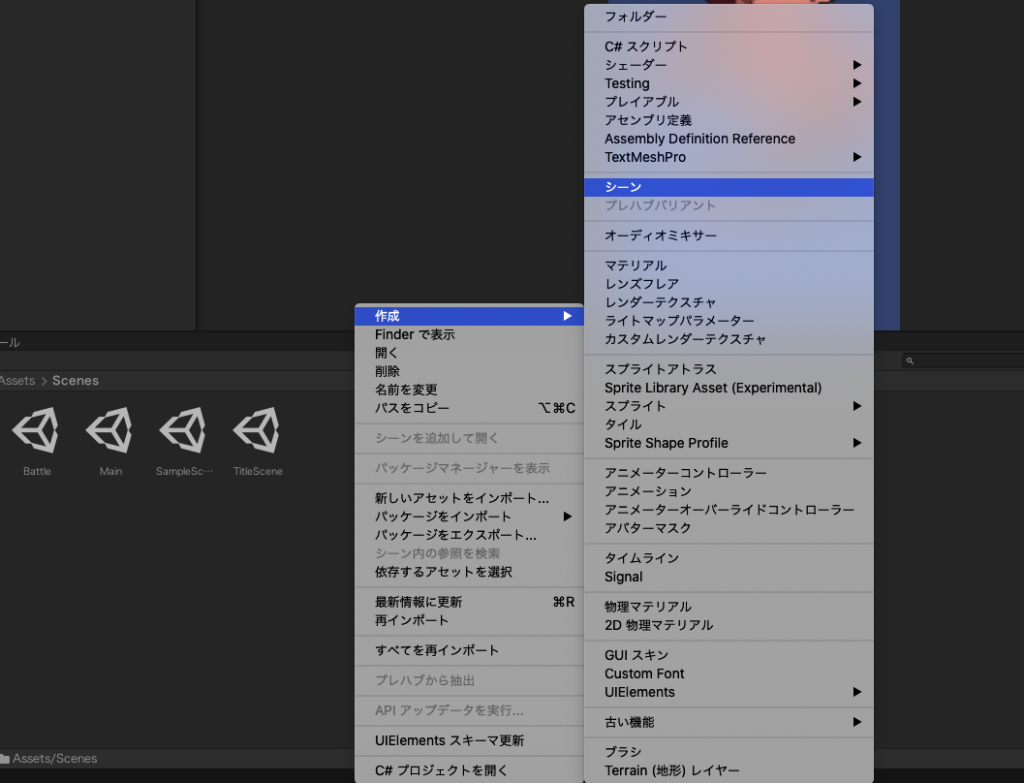
遷移元と遷移先のシーンを作成する
プロジェクトウィンドウで右クリックし、<作成 – シーン>から遷移元と遷移先のシーンを作成します。ここでは遷移元をMain、遷移先をBattleとしています。
ボタンのUIを配置する
Unityのヒエラルキーウィンドウを右クリックしてUI – Buttonを選択します。
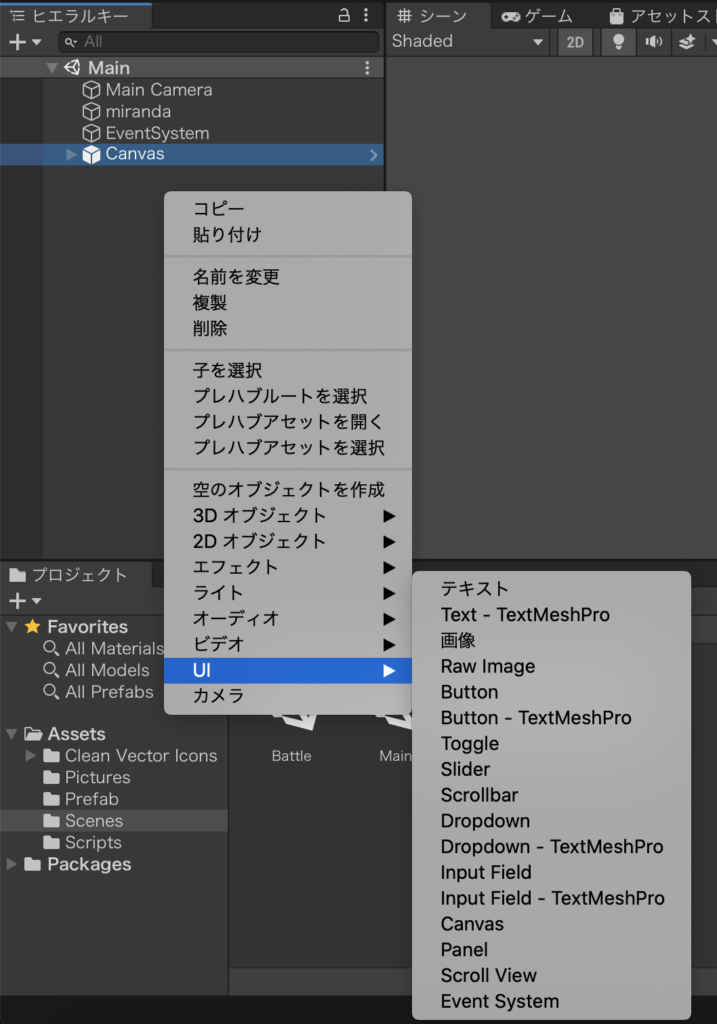
キャンバスが配置され、その中にボタンのオブジェクトが配置されます。
キャンバスのサイズがシーンと合っていない場合は、インスペクターウィンドウからCanvasに以下の設定をします。
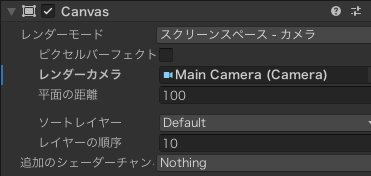
- レンダーモードでスクリーンスペース – カメラを選択
- レンダーカメラにMain Cameraをドラッグ&ドロップ
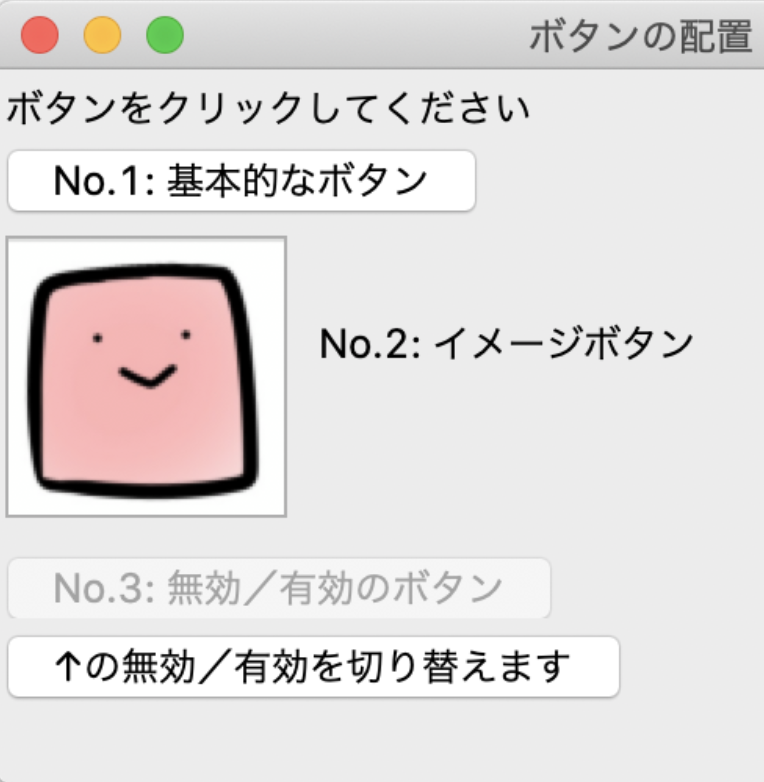
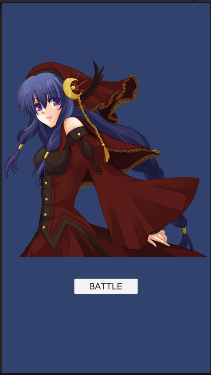
今回はMainシーンに移動用のボタンとキャラクターの画像を配置しています。
スクリプトを作成する
配置したボタンにBATTLEシーンに遷移する処理を追加します。
C#のスクリプトChangeScene.csを作成し、以下の処理を記載します。
using System.Collections;
using System.Collections.Generic;
using UnityEngine;
using UnityEngine.SceneManagement;

public class ChangeScene : MonoBehaviour
{
    // インスペクタビューから設定するシーン名
    public string sceneName;

    // Start is called before the first frame update
    void Start()
    {

    }

    // Update is called once per frame
    void Update()
    {

    }

    /// <summary>
    /// インスペクタビューから設定したシーンを読み込む
    /// <summary>
    public void LoadScene()
    {
        SceneManager.LoadScene(sceneName);
    }
}
追記したusingはシーン遷移に必要なパッケージとなっています。
using UnityEngine.SceneManagement;LoadSceneはインスペクタビューの引数にシーン名を設定してシーン移動するメソッドです。
    // インスペクタビューから設定するシーン名
    public string sceneName;

    // 中略

    /// <summary>
    /// インスペクタビューから設定したシーンを読み込む
    /// <summary>
    public void LoadScene()
    {
        SceneManager.LoadScene(sceneName);
    }
スクリプトをアタッチする
作成したボタンにChangeScene.csをアタッチします。Scene NameにはBattle(移動先シーン名)を設定します。

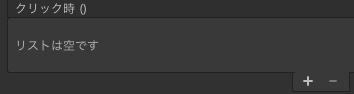
インスペクタウィンドウのクリック時()の部分で+ボタンをクリックします。
なし(オブジェクト)の部分にボタンオブジェクトをドラッグ&ドロップし、No Functionの部分に<ChangeScene – LoadShcene>を選択します。
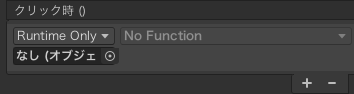
- なし(オブジェクト): ボタンをドラッグ&ドロップ
- No Function: ChangeScene – LoadSceneを選択
ボタンをクリックした時にシーン遷移ができます。
おわりに
今回はUnityでシーン遷移する方法について記載しました。
キャラクター、モンスター素材については、以下のサイトの素材を使用させていただきました。(敬称略)